- Step 1: Export the document template
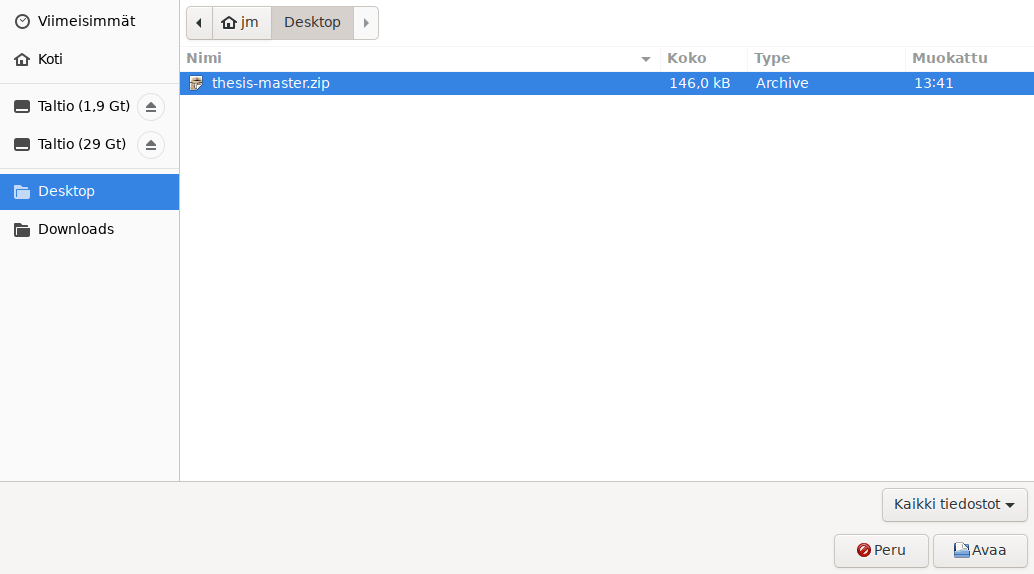
- Step 2: Store the zip file locally
- Step 3: Create a new project
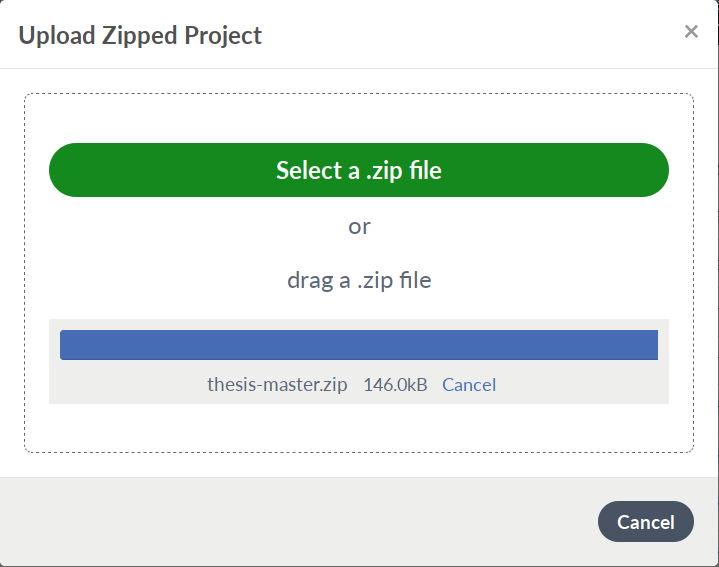
- Step 4: Upload the project template
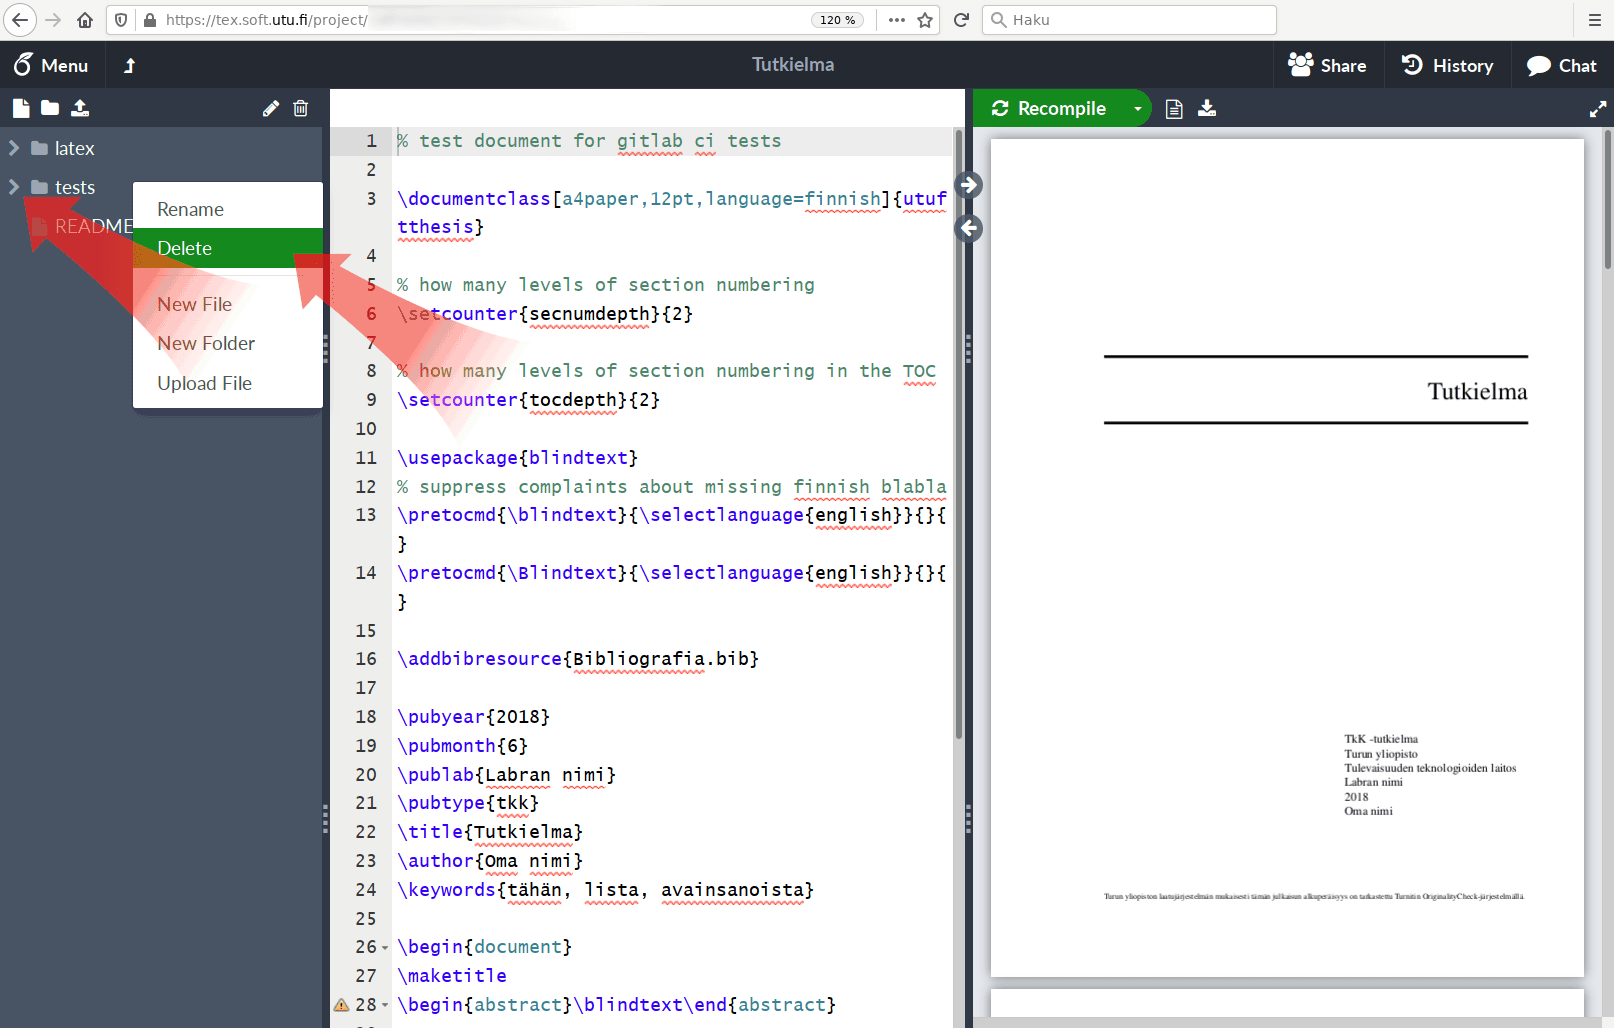
- Step 5: Delete unnecessary files
- Step 6: Set up the main document
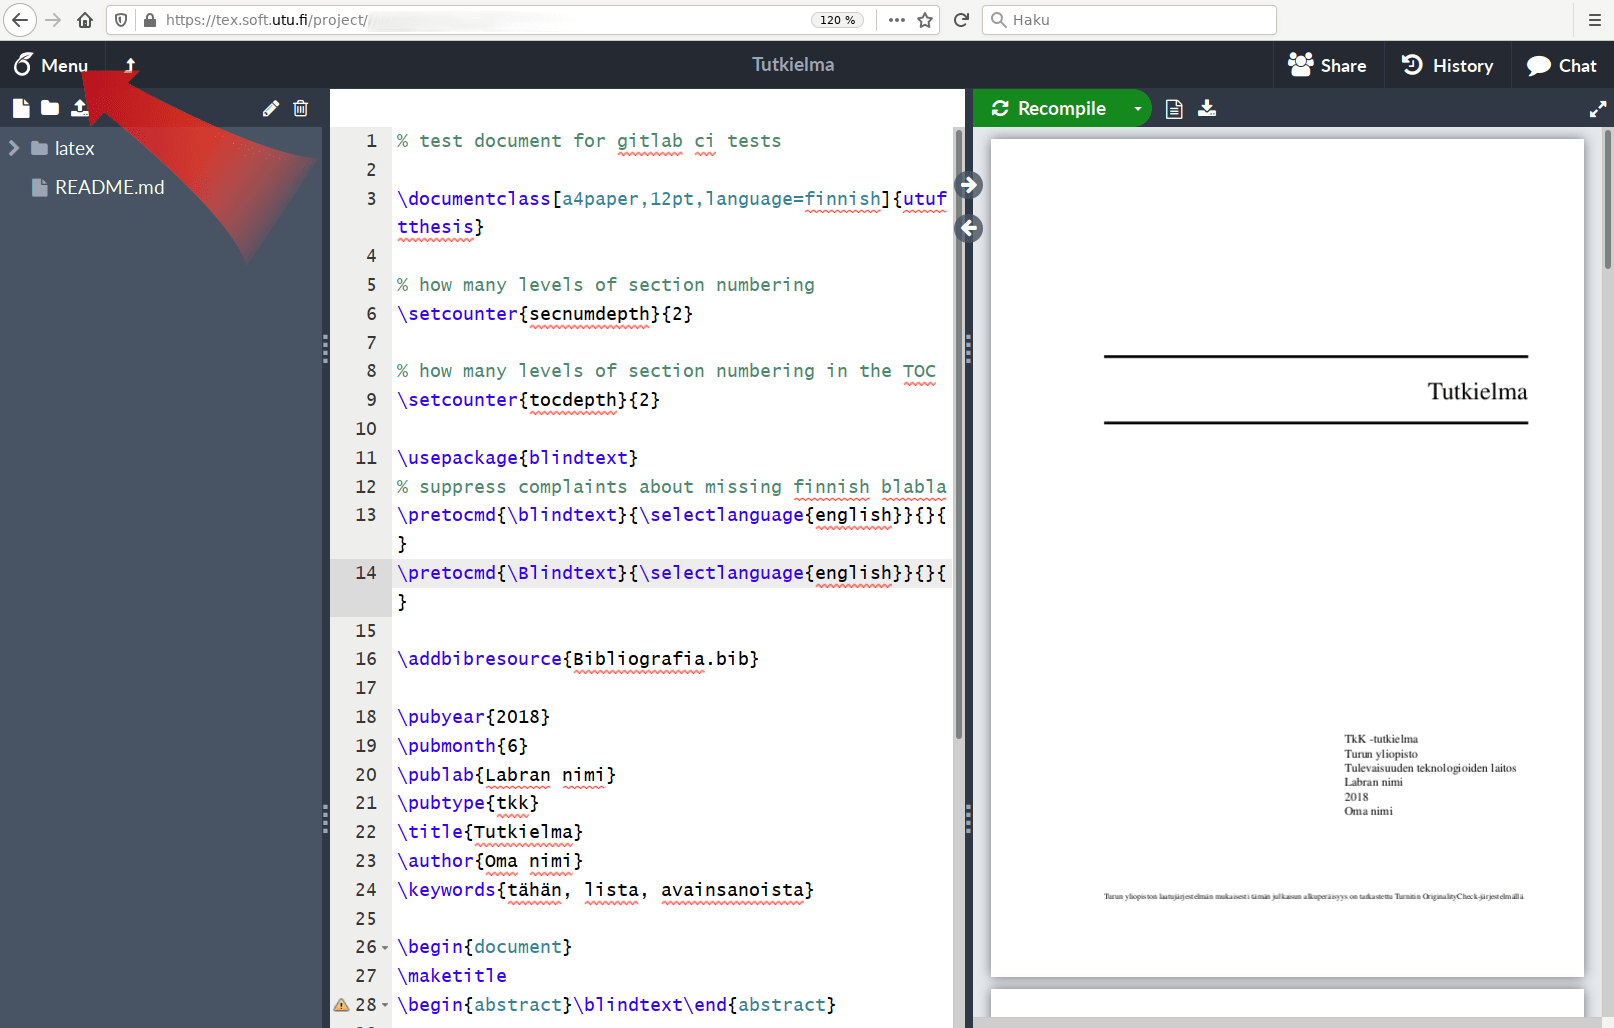
- Step 7: Recompile the main document
- Done
The UTU Software Engineering Laboratory provides on-premises hosting of the Overleaf platform. To use the service, first register as a new user.
The following step-wise guide describes the process of exporting the thesis template from the GitLab to UTU Overleaf. Exporting to overleaf.com differs slightly, but this instruction can be applied.
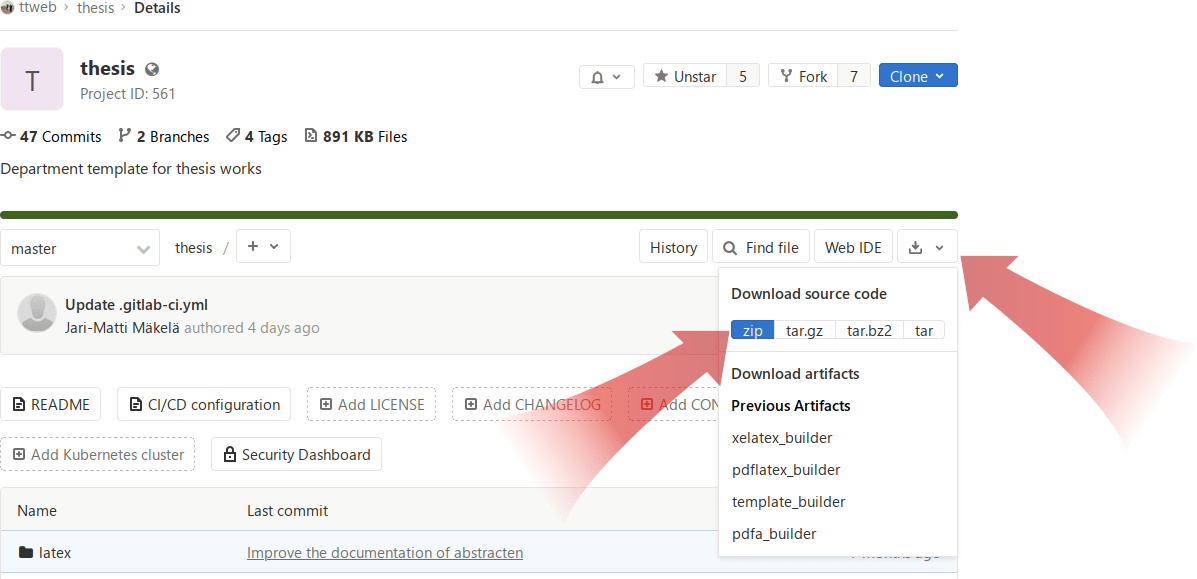
Step 1: Export the document template
First, export the 'thesis' project (direct link).
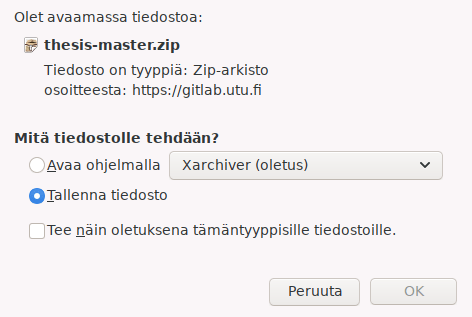
Step 2: Store the zip file locally
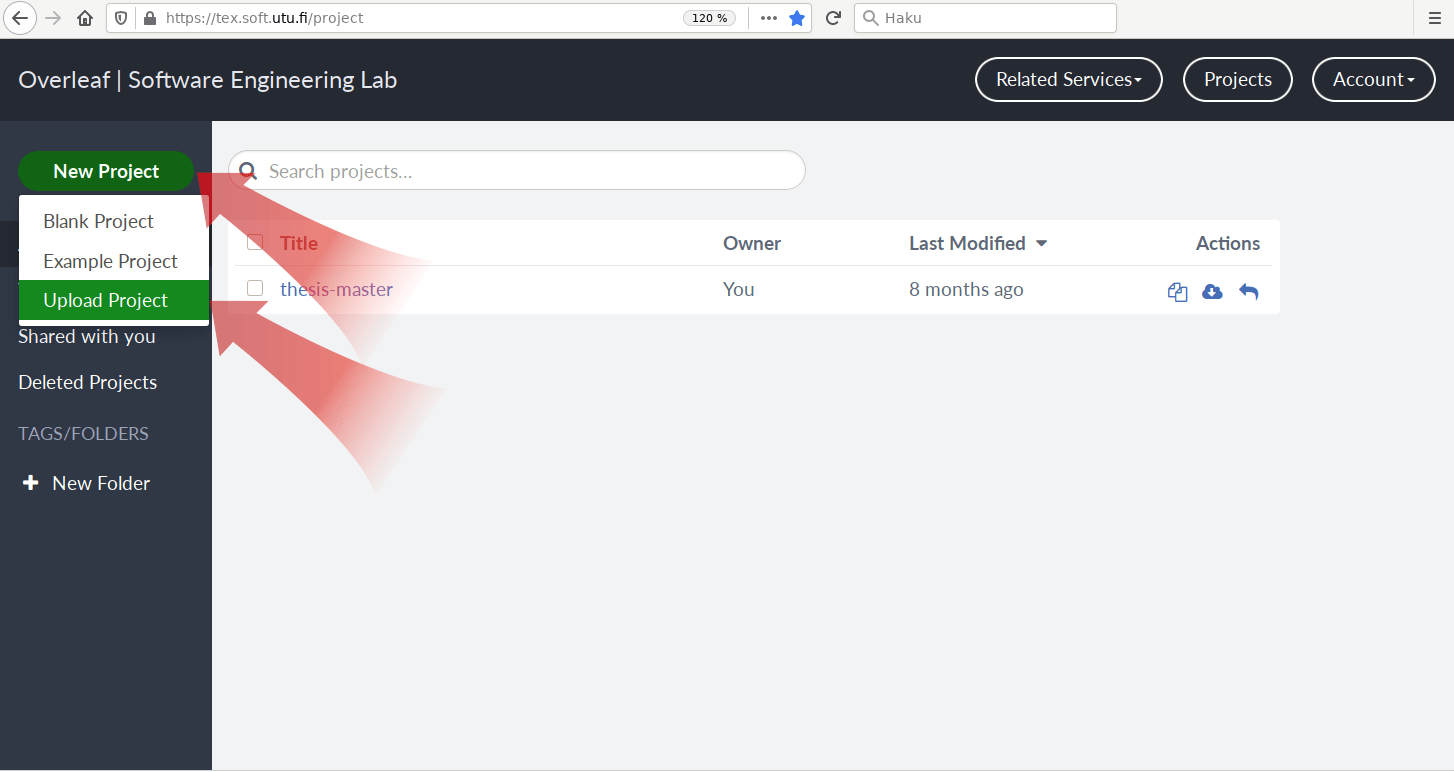
Step 3: Create a new project
Click the 'New Project' button in the Overleaf project view.
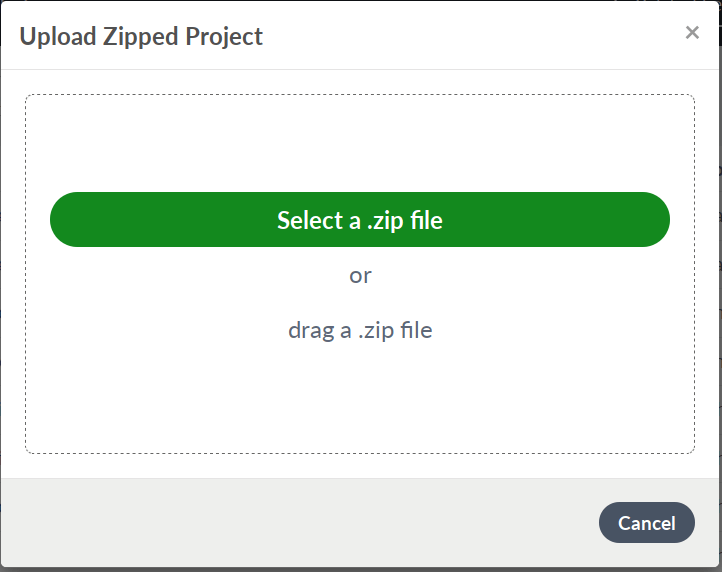
Step 4: Upload the project template
Upload the zip file generated in the Step 2 as the project template.
Step 5: Delete unnecessary files
The following files are not required when using Overleaf:
- the
tests/folder - the
.devcontainerfolder - all the
*.lyx,*.layout, and*.pdffiles inlatex/ .gitignore.giblab-ci.yml.giblab-ci-simple.ymlDockerfileREADME.mdlatex/Makefile
❗ Please note that in order to use Minted (source code listings)
or acronyms properly, all the files in the latex/ directory
need to moved to the project root. This will later prevent
any possible issues with file paths in generated auxiliary files. ❗
Step 6: Set up the main document
In the Settings view, select the thesis.tex as the new main document.
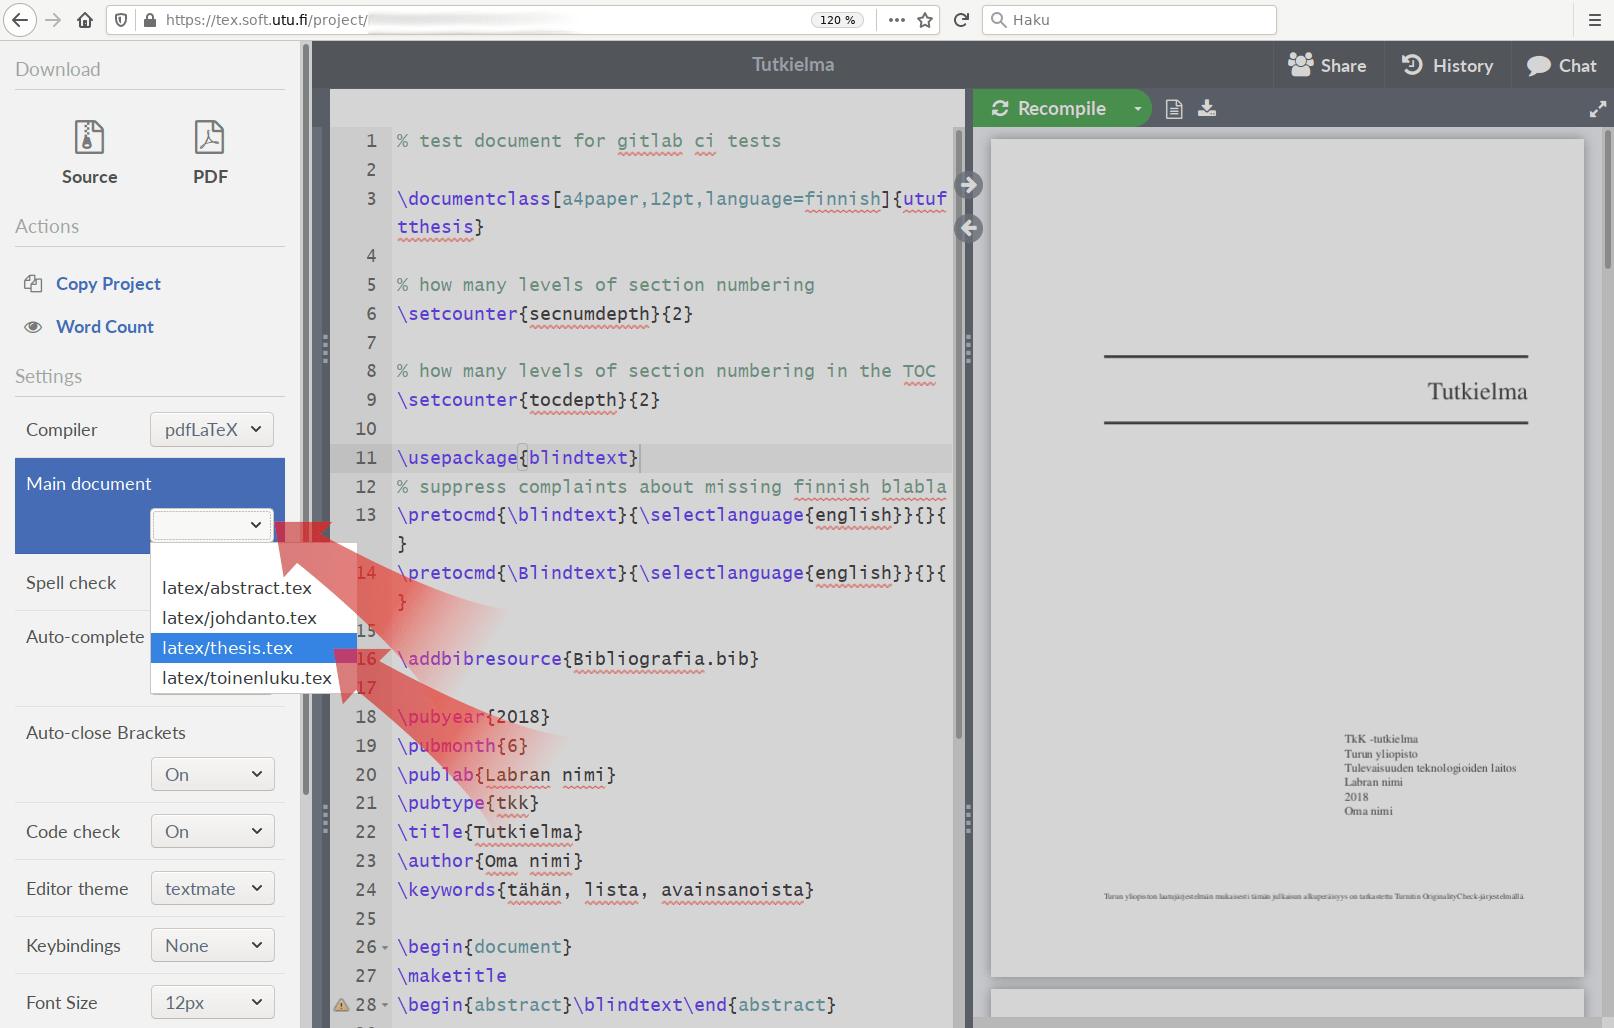
One can also choose between the XeLaTeX and pdfLaTeX rendering engines in this menu.
Step 7: Recompile the main document
Click on the thesis.tex line in the directory listing (leftmost view),
then click Recompile (rightmost view).

Done
Now, the system has been set up to compile TeX documents. Next, you can continue to the second quick tutorial that will demonstrate the use of typical features required in a thesis document. There are also further instructions for using and configuring the template.